


You can compress a video in CapCut by exporting a smaller delivery copy. Start with its duration and bitrate, then adjust resolution if the remaining detail can tolerate it. Keep the original file and project, too. A lightweight attachment shouldn't become your only copy.
CapCut's online video-compressor page walks through an upload, timeline and export workflow. Its own FAQ stops short of promising an exact final size in megabytes. So the useful question is this: how small does this copy need to be, and what still has to stay readable or visible?
I'd settle that before touching several export controls. A talking clip for review, a screen recording with small text and fast-moving gameplay all tolerate compression differently. A file that fits the limit but hides the information has still failed at its job.
Set a file-size budget before choosing settings
Write down the receiving service's real limit and the final video duration. Take that limit from your email provider, uploader or client, since there's no one attachment limit every service shares. Leave some room below a strict limit. Don't aim for its last byte.
Bitrate is data per second. That gives you a useful estimate:
Size in decimal MB ≈ (average video Mbps + average audio Mbps) × seconds ÷ 8
The formula estimates the media payload only. Container overhead adds data on top, and variable-bitrate encoding can land above or below the target you chose. It's a planning tool, and only the finished CapCut export tells you the real size. Your operating system may also show sizes in binary units, which can differ from a website's decimal MB limit.
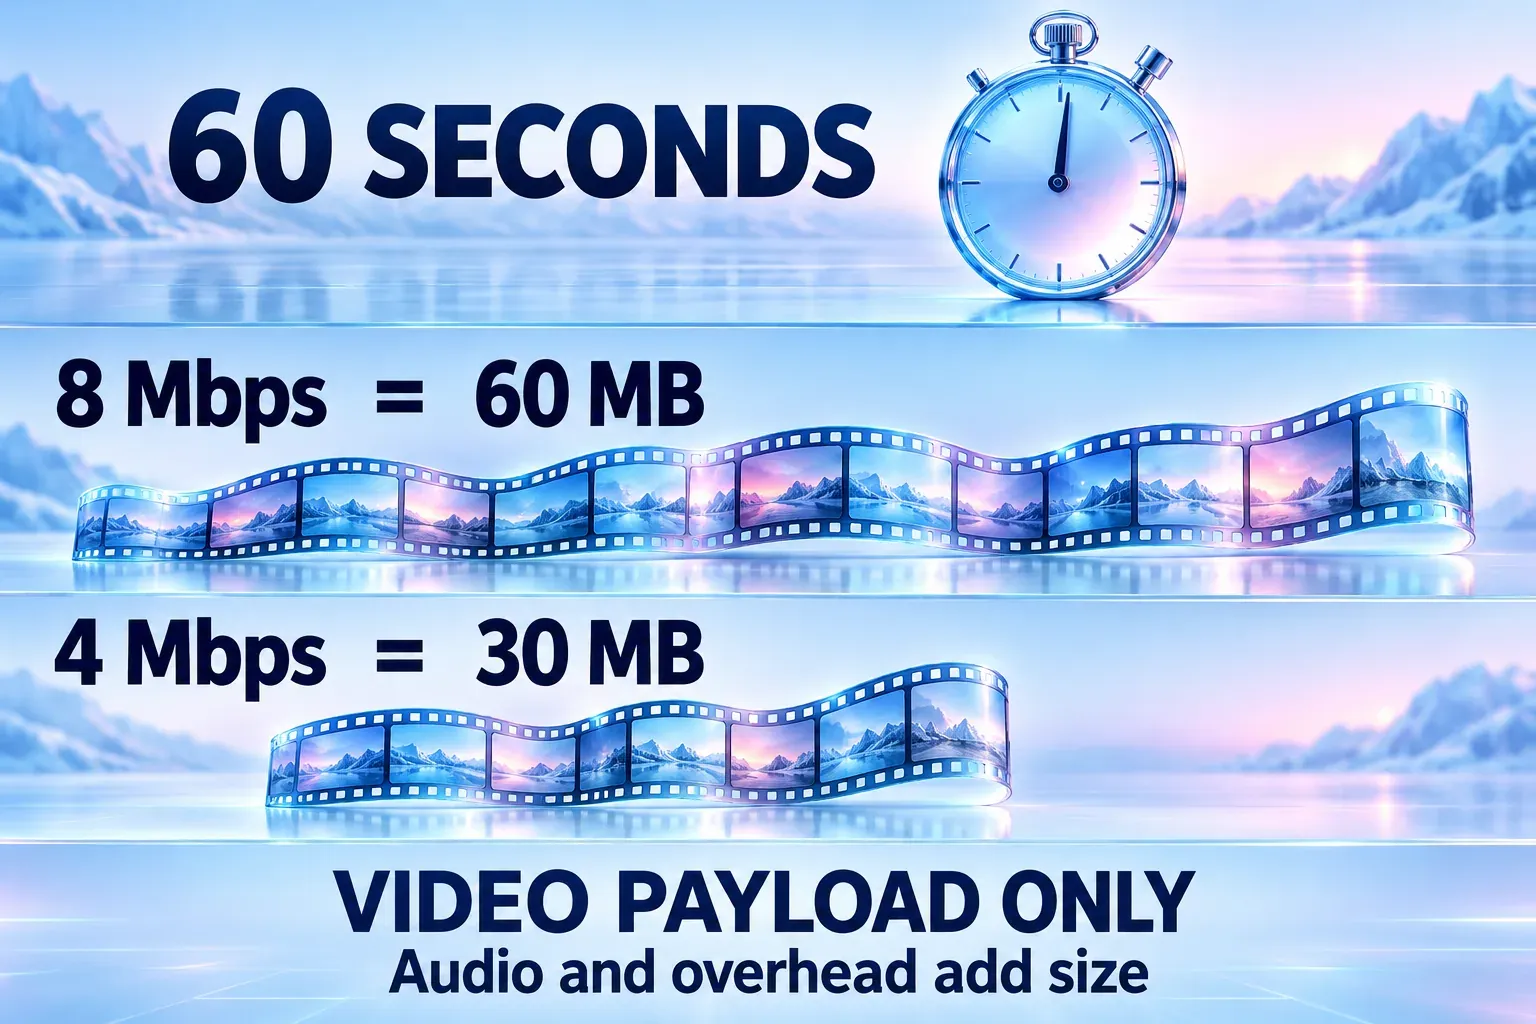
For the video stream alone, the same average bitrate produces twice as much data when the duration doubles:
| Duration | Average video bitrate | Estimated video payload |
|---|---|---|
| 30 seconds | 4 Mbps | 15 MB |
| 60 seconds | 4 Mbps | 30 MB |
| 60 seconds | 8 Mbps | 60 MB |
| 120 seconds | 4 Mbps | 60 MB |
Every row leaves out audio and overhead, so add those on top. A 720p label doesn't tell you the file size. The encoding you select still matters.
Example: a one-minute video under 20 MB
Say the finished clip runs 60 seconds and the upload limit is 20 MB. A video average of 2.2 Mbps plus an assumed 128 Kbps audio stream comes to about 17.46 MB of payload: (2.2 + 0.128) × 60 ÷ 8.
I picked that audio rate for the example; it isn't CapCut's preset or a control every build exposes. The math leaves room for overhead, but check the finished file anyway. How well the picture holds up at that budget depends on its detail, movement and encoder.
When the budget forces a bitrate that's too low for the content, shorten the delivery or use an approved sharing link. Don't keep cutting quality until text is unreadable just to hit a number.
Compress the video on CapCut Desktop
Work in a separate project or delivery copy if trimming would change what you want to keep. Then go through these decisions:
- Remove unused time. Trim an accidental ending or unnecessary pause if the shorter edit still answers the brief. This reduces duration; cropping the picture is a different operation.
- Open Export. Review the current panel's resolution, frame rate, format and bitrate controls. Their availability depends on the build and project.
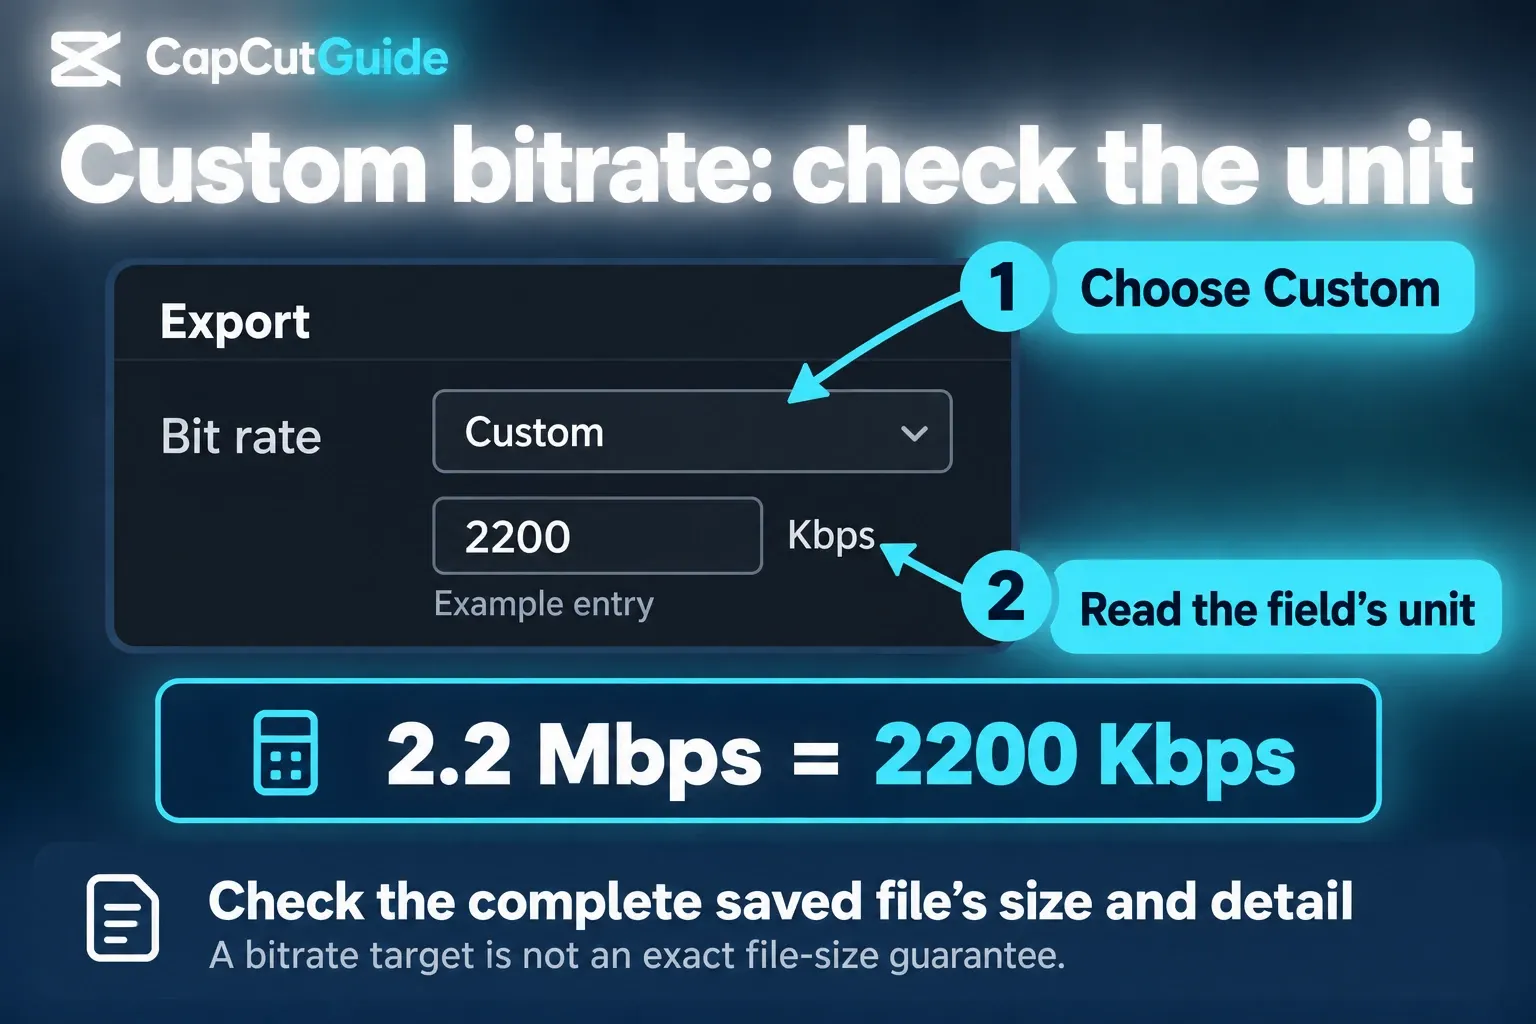
- Choose the bitrate deliberately. CapCut's export-quality help documents Export → Bit rate → Custom, with a numerical field in Kbps. Use that route when your version exposes it. For the example above, 2.2 Mbps is 2200 Kbps. Read the field's unit before entering a number.
- Use the available preset if Custom is missing. A lower bitrate or quality option can be a starting point, but a label such as Recommended is not a fixed megabyte budget. Export a representative section and inspect its detail; confirm the size of the complete delivery afterward.
- Review resolution without blindly changing the frame rate. If the file needs a smaller picture, compare a 1080p or 720p copy with the detail the recipient needs. Keep the source and timeline's cadence unless a separate delivery requirement justifies changing it.
- Export under a new filename. Choose an identifiable save location, check the actual size and play the finished file outside the editor before sending it.
For a normal delivery, H.264 in MP4 is a practical starting point where you can select it. When the recipient needs another codec or container, follow their spec. Our CapCut supported-formats guide explains those distinctions, and the broader CapCut export-settings guide covers social delivery, color and frame-rate choices.
On mobile or online, use the controls that appear
CapCut on iPhone or Android
CapCut's mobile export instructions put a resolution label next to Export. Tap it before you render to see what's available. Go only as low as the intended viewing size and the content allow. If your build also shows a bitrate or quality control, use that too.
Don't assume the phone has the Desktop Custom field, the same units or the same codec selector. With only preset controls, the finished file is your size check. If those presets can't hit a strict budget at acceptable quality, switch to a workflow with numerical bitrate control or send an approved link.
CapCut's online compressor
The web version follows a short documented flow: upload the video, place it on the timeline, choose resolution and quality, then export. Go with a file download when the recipient needs a video attachment. CapCut's web export guidance treats Download and presentation sharing separately, and a review link is a different deliverable.
Use footage you have permission to upload. For confidential work, follow the agreed delivery process before you put the footage into an online editor. The landing page talks about free compression, but that doesn't mean every project, asset or export option will be free in your current account. Read any plan prompt before you continue.
Why can a shorter CapCut export be larger?
CapCut encodes a new video from the timeline, so the original file's size doesn't cap the new one. If the new average bitrate climbs high enough, even a shorter clip can take up more space.
Take 120 seconds at an average 2 Mbps: that's about 30 MB of video. A shorter 60-second version at 8 Mbps comes to about 60 MB. That's payload math you can redo for any CapCut export. Even with half the duration, the data rate is what drives the change.
Check the exported bitrate, duration and resolution instead of trusting the filename alone. MP4 and MOV are media containers, not automatic small-file and large-file quality levels. Changing that label by itself doesn't give you a compression ratio. Cropping, reducing frame rate or lowering resolution also won't mathematically halve the bytes if average bitrate and duration stay the same. What those changes can do is help an encoder work within a smaller budget.
HEVC can compress efficiently, but pick it only when the receiving workflow supports it. Apple's HEVC compatibility guidance lists device, resolution and frame-rate conditions. Don't trade a slightly smaller file for one the recipient can't open, and don't count on a particular percentage saving.
An export that never finishes is a separate problem, and our CapCut export-stuck checklist covers it. If the local file is complete but already looks soft, go through the blurry-after-export guide before you change every setting again.
Can you compress without losing quality?
A smaller delivery can keep enough visible detail for its purpose. That's not a guarantee of identical pixels, or of a dramatic reduction with no tradeoff. HandBrake's quality guidance explains the general encoding tradeoff: lowering quality usually shrinks the file, while large reductions can visibly strip out detail. Its encoder-specific quality values aren't CapCut settings, though.
Review a demanding section with movement and fine detail. Look for readable captions and screen text, clean movement, dark-area detail and sound that stays in sync. Check at the recipient's likely viewing size, because a tiny phone preview can hide problems that become obvious on a monitor.

If only the uploaded copy looks poor, separate what the site's processing did from what's in your local file. Keep the original export and compare it with the completed upload before compressing anything yet again. For settings based on your source and destination, our export recommender gives a starting profile, plus a qualified size estimate where the visible numerical bitrate supports one.
I'd trim what isn't needed, set a realistic data budget and stop once the file meets both the size limit and the viewing requirement. Keep the master. If the remaining detail can't survive the required attachment size, send a link or a shorter review cut instead of an unusable full-length copy.