
CapCut Auto Captions: Generate, Edit & Style Subtitles
To add Auto Captions, open your project, choose Captions → Auto captions, select the spoken language and generate. Some layouts use Text. Then correct the words, check their timing and apply a readable style.
Last updated October 22, 2026.
Choose the caption job in front of you
Need to create a caption track from speech? Continue with the Auto Captions workflow below. If a track already exists or generation has failed, open the focused route instead of repeating the whole process.
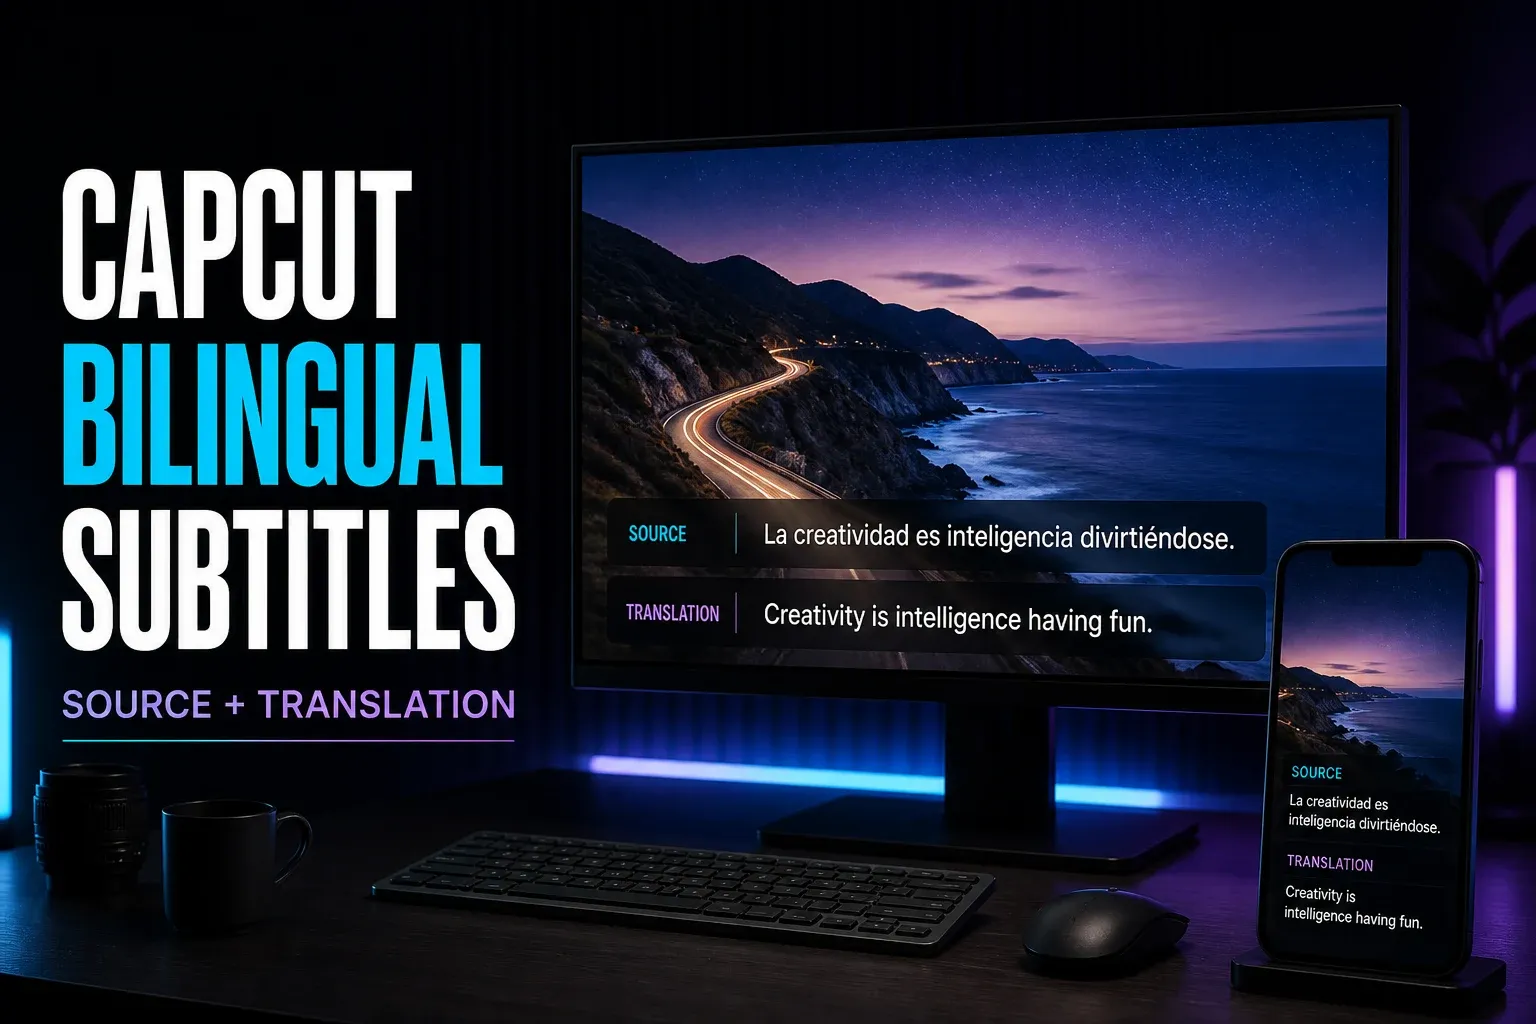
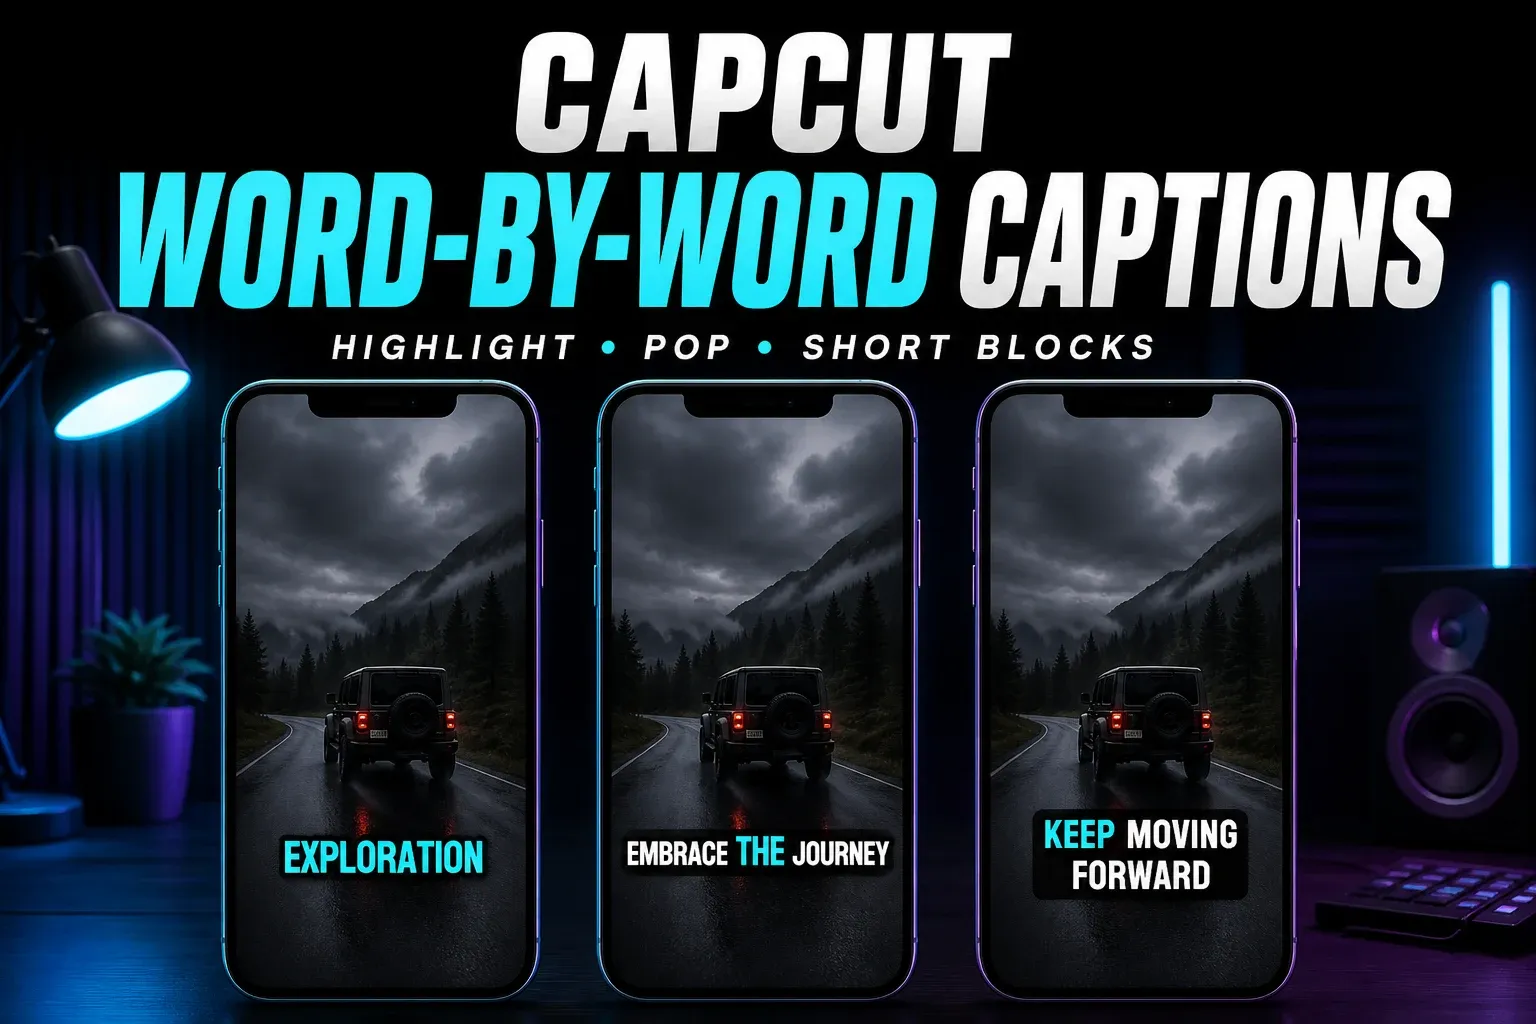
Yes, CapCut has built-in Auto Captions on Mobile (iOS and Android), Desktop (Windows and macOS) and the Web editor. CapCut's subtitle recognition help lists the core feature on all three. Extras such as speaker differentiation or batch SRT export may be limited to Desktop or Web, depending on region and app version. Whether generation is free on your account is another question, and the free-or-Pro section below covers it.
To add Auto Captions in CapCut, open your project, choose Captions → Auto captions, select the spoken language and generate. Some layouts put the control under Text instead. After that, fix the words, check when each caption appears and apply a style people can read. Treat the first transcript as a starting point, not a finished subtitle track. To remove or rearrange spoken sections by editing text, use the transcript-based editing guide and replay every cut.
This workflow covers Mobile, Desktop and Web. Each of the six guides above handles a specific caption problem, so start here when you've got speech to transcribe. For a song, use the lyrics guide instead; don't expect speech recognition to recover every sung word.
Follow the controls in your current editor and confirm the spoken language before starting recognition.
| Task | Mobile | Desktop | Web |
|---|---|---|---|
| Generate speech captions | Captions → Auto captions; check Text in other layouts | Captions → Auto captions; language/source controls vary | Captions → Auto captions in the timeline editor |
| Correct text and timing | Select a caption and edit; replay changes | Edit caption blocks or the caption list | Edit caption blocks or the caption list |
| Style a caption group | Look for Apply to all; check edited/split blocks | Shared Style controls; confirm selected group | Shared Style controls where offered; inspect each line |
| Import a timed SRT | No direct import in current Help; use Desktop/Web | Captions → Add captions → Import file, or Text in another layout | Captions → Upload caption file; use SRT |
| Export a separate SRT | Only if Caption Export is offered; recognized track required | Caption Export in Export; choose SRT | Download captions / Caption Export; inspect available format |
| Show two languages | Check Translate to under Auto captions | Check Bilingual captions under Auto captions | Check bilingual/translation options under Captions |
Core recognition and editing are documented on all three platforms. Direct SRT import is limited to Desktop and Web. CapCut’s caption-export help includes Mobile, but the export option, eligible recognized track and account access must be checked in your build. Bilingual controls also vary. Check generation, styles and file export separately; this table does not promise a free allowance.
What CapCut Auto Captions Does
Auto Captions turns speech into editable, timed text blocks. That's different from typing a title with the text tool or importing a subtitle file someone already prepared. CapCut documents recognition on all three platforms in its Auto Captions instructions, though some advanced options vary by version and region.
Plan on an internet connection for any new recognition. CapCut's generation troubleshooting page describes cloud processing and connection failures. Just because you can edit captions already stored in a local project doesn't mean you can generate new ones offline.
Working with a client recording or private conversation? Before you import it into CapCut or start recognition, make sure you have permission to send that recording to the service. Local project storage does not prove local-only processing. If the material must stay offline, keep both media and transcription in a workflow approved for that restriction.
Already have an SRT? Import it instead of transcribing the same speech again. SRT contains timing, while a plain TXT transcript may not contain any. If selecting clips and tracks still feels unfamiliar, our CapCut tutorial for beginners covers those basics first.
Prepare the Audio Before You Generate
Save your work, then make a separate project copy before you replace a reviewed caption track. Keep the original media too. A save confirmation isn't a backup, and an exported video isn't a copy of the editable project.
Play the dialogue through headphones. Find the track that contains the words, then check the source selector if your build has one. In the Mobile steps below, that control is called Generate from.
- Camera speech: select the video/original-audio source when offered.
- Separate voiceover: select the source carrying the narration, rather than a second recording of the same speaker.
- Music under the voice: try a clean voice source. Muting music can help a test, but do not assume playback mute alone determines what recognition processes.
- Several speakers or languages: check speaker changes and language switches manually. Choose the language spoken in the clip, not the language you want to translate into.
For a long job, I'd put a short, representative speech sample in a separate test project first. Include a difficult name and a typical noisy moment. That way you aren't just assuming that selecting one timeline clip limits recognition to that clip. If the source choice is unclear, a voice-only test file makes the input easier to check. Even when the sample works, you still need to review the full transcript.
Before you generate again, check any option such as Delete current captions, which CapCut's Desktop help shows. Depending on the control and build, you might replace the existing captions or end up with duplicates. Hiding an old track won't protect it from replacement. Keep the reviewed copy until the new result passes playback.
Finish the main dialogue cuts before captioning. After substantial changes to the speech edit, check the affected captions again; don't assume the old words and timing still fit.
Where to Find Auto Captions on Mobile, Desktop and Web
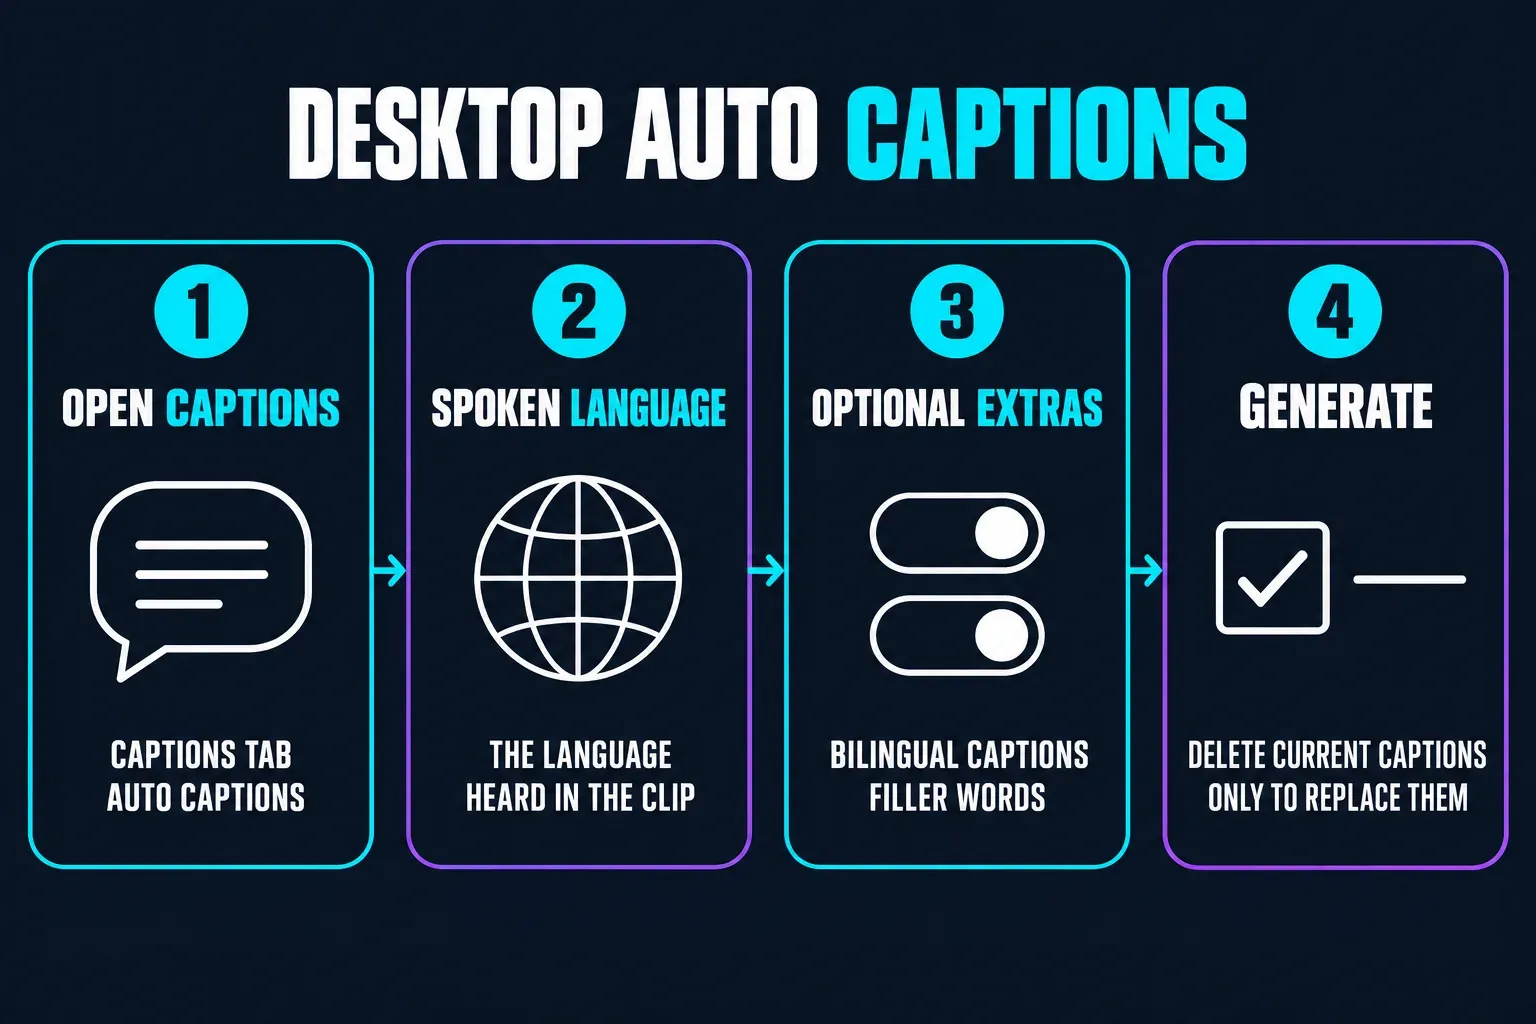
- Mobile: open a project and look for Captions in the bottom toolbar, then Auto captions. Check Text if your layout differs.
- Desktop: the help example shows Captions in the top toolbar, with Auto captions in its panel. Other documented layouts use Text.
- Web: open the timeline editor and look for Captions in the left sidebar. Choose Auto captions and the spoken language.
The recognition guide says Captions, while CapCut's caption correction guide still says Text. Look under both labels before you decide the feature is gone. The separate Web AI-captions upload tool is just another entry point. It's no reason to abandon a project you already have open in the timeline.
If the control is missing or generation won't finish, go to the captions not working guide. Don't interrupt an active job just to try a different menu. When a Web attempt fails, CapCut recommends Chrome or Edge, and the Web Editor checks cover browser-specific problems.
How to Add Auto Captions in CapCut Mobile
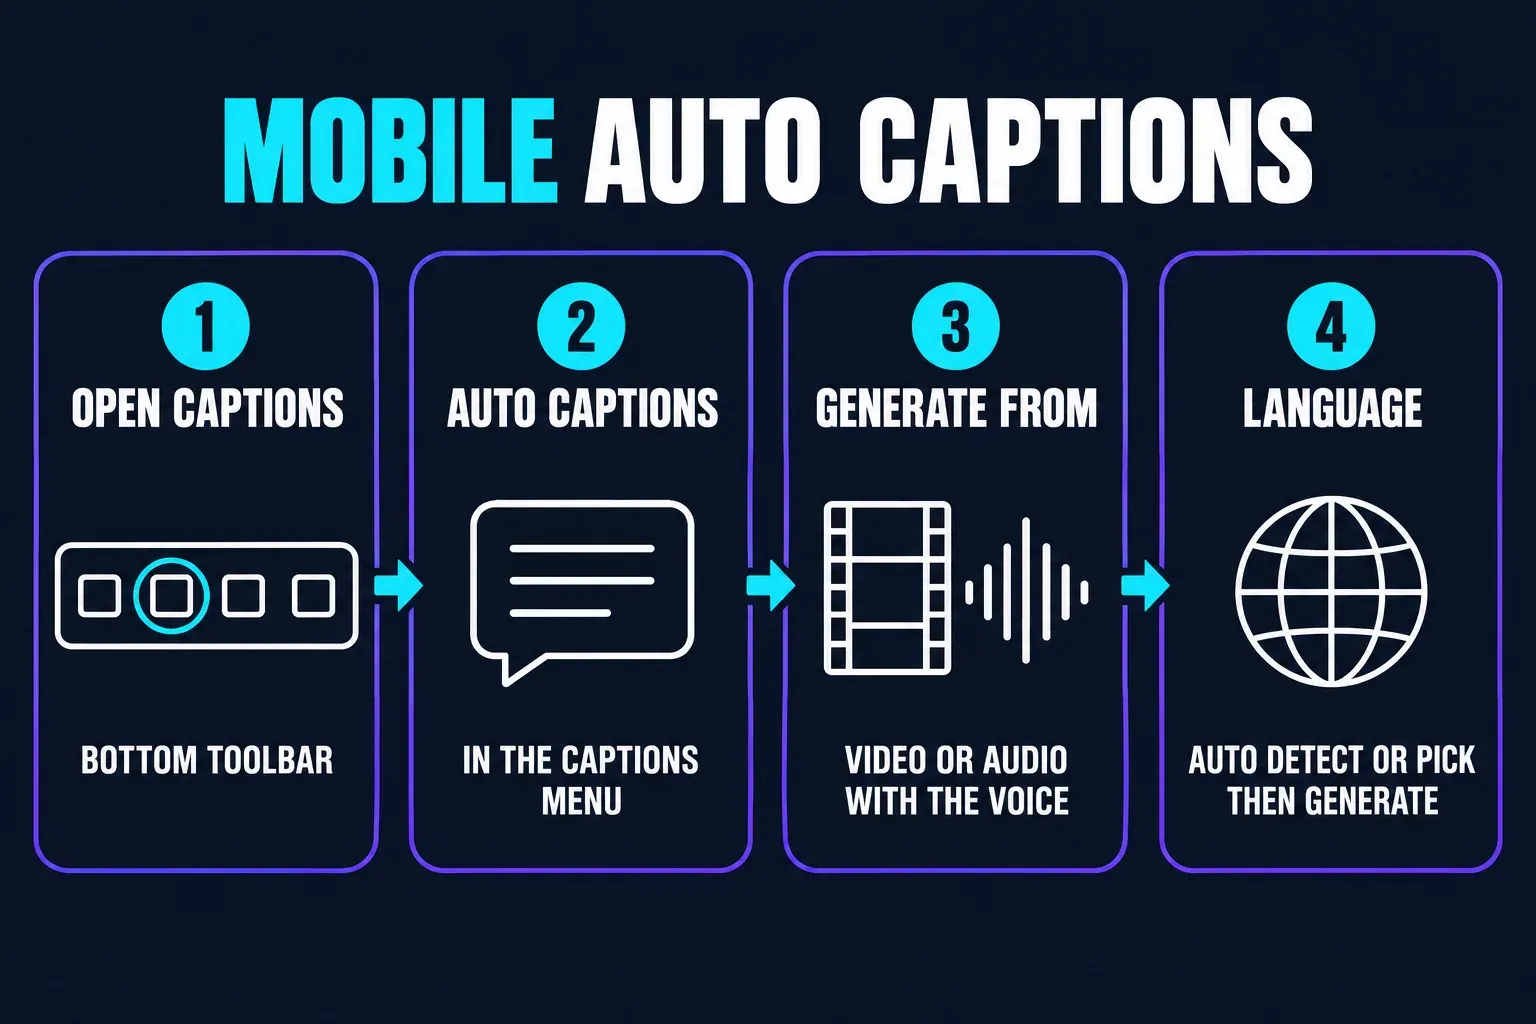
- Open the project and play the speech you want to caption.
- Tap Captions → Auto captions, or look under Text in a different layout.
- If a source control is available, choose the video or audio source containing the voice. Confirm the spoken language.
- Check the selected template, optional extras and any usage or Pro prompt. Start with a simple style you can read easily.
- Tap Generate and wait for processing to finish while connected.
- Select a caption block, open Edit captions when offered, and correct the words. Confirm the change and replay it before styling the full track.
Fix a few wrong words directly. If most of the transcript is wrong, check the language and recognition source before you retry in your separate project copy. Generating the same input over and over can burn through an allowance without solving anything.
These steps cover ordinary caption-text editing. They aren't about a transcript-based tool that cuts video when you delete words. Fixing a caption's spelling doesn't repair the audio itself. If the recording is missing or silent, start with the no-sound checks.
How to Add Auto Captions on Desktop and Web
- Import your media and place the speech clip or voiceover on the timeline.
- Open Captions, or Text in another layout, and select Auto captions.
- Set the spoken language and inspect any available audio-source control. Leave translation or filler-word extras off unless you need them.
- Check the usage prompt and whether existing captions will be replaced. Start Generate, Recognize or Create, following the label in your build.
- After generation, open a caption block: on Desktop, double-click it or try right-click → Edit Captions; on Web, select it and look for Edit captions in the properties panel. Correct the words, then replay the changed section.
On Desktop, CapCut documents Ctrl+B on Windows and Cmd+B on macOS for splitting at the playhead. Select the caption block first, and keep the text cursor out of the typing field. If the key does something else, check your shortcut settings. Splitting changes the block; it doesn't touch the recognized speech.
On Web, follow the same language → generation → review sequence. The official subtitle tool page also describes editing several lines in a list. Be careful with batch text replacement, though. Replacing the words in several selected lines isn't the same as applying one visual style to them. For a larger local timeline, see CapCut for PC.
Review the First Caption Pass
Listen to each sentence while you read the matching text. Start with names, numbers, negations and technical terms. A missing "not" can reverse an instruction, and punctuation won't fix that.
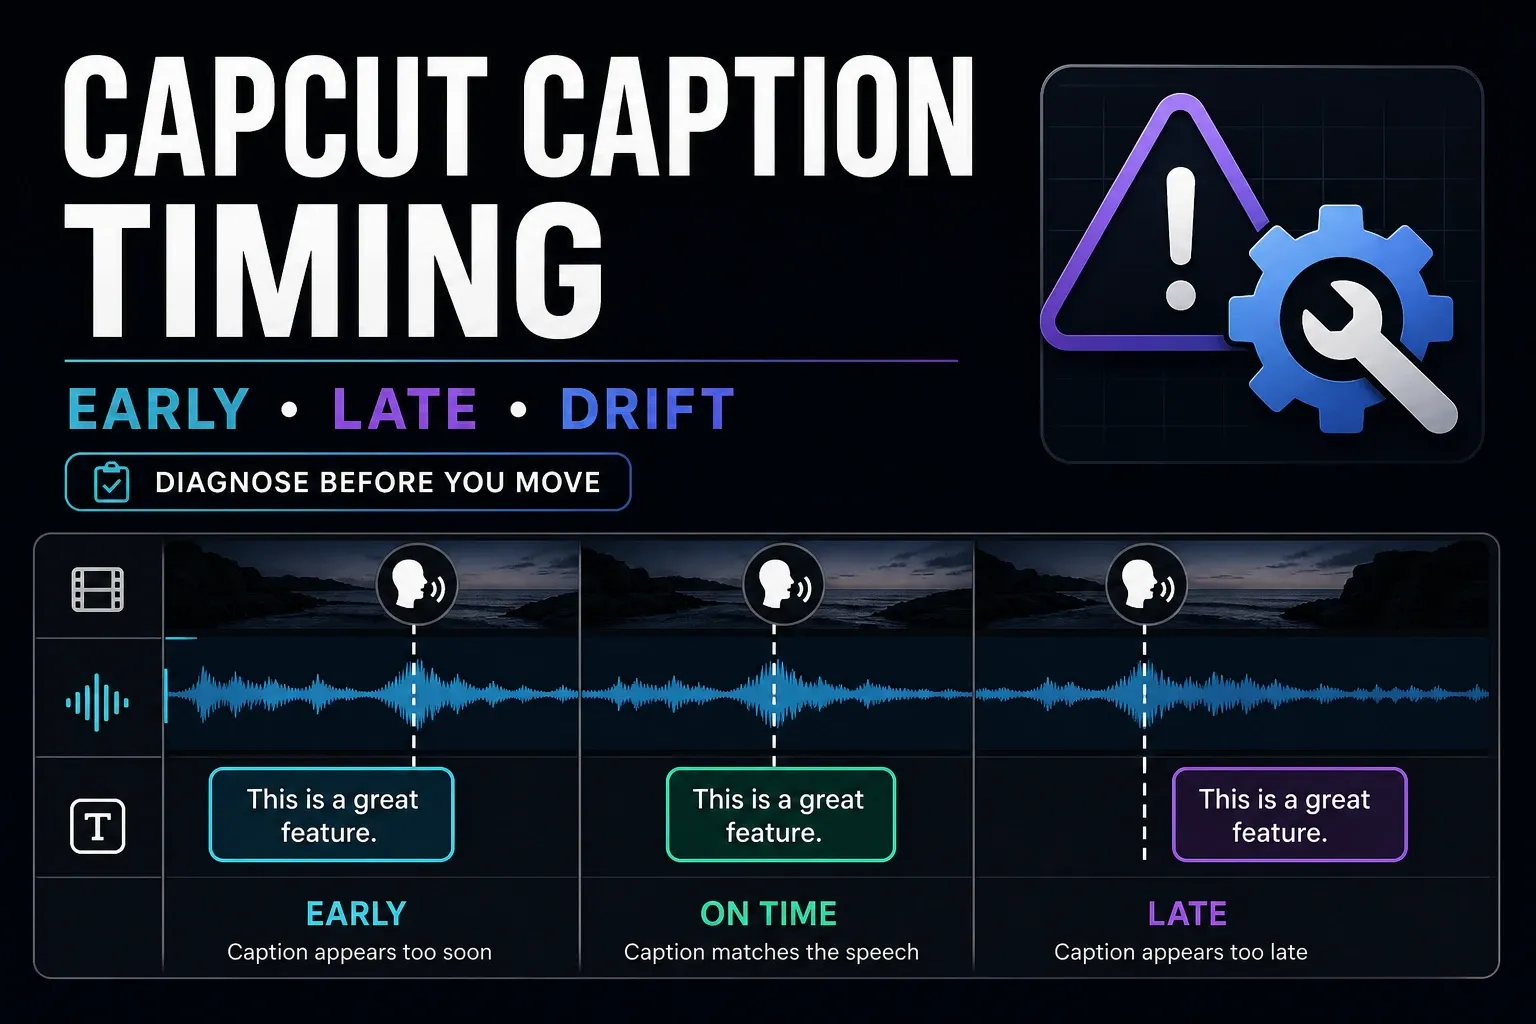
Next, check line breaks and timing. Split long blocks at a natural phrase boundary, and make sure no word drops out between them. If captions show up early or late, drift, overlap or go missing, the caption timing guide explains how to tell a local mistake from a whole-track problem.
A speech transcript can also miss information a viewer needs with the sound off. Add meaningful sound cues, and identify speakers where the picture doesn't make them clear. The W3C caption guidance explains why automatic speech text alone isn't enough. Watch once with sound to check accuracy, then once muted to see whether the scene still makes sense.
If Auto Captions Does Not Produce a Usable Track
An empty result or stalled progress needs a generation fix. A different font won't help. Protect the project, then work through the Auto Captions troubleshooting steps. If you've got a usable track and only a few lines are wrong, keep the good work and correct just those lines.
Are CapCut Auto Captions Free or Pro?
Auto Captions may require Pro or show a limited allowance. Don't assume it's unlimited just because a tutorial calls it free. CapCut's plan comparison lists the generator among Pro tools, yet other official pages still advertise no-cost captioning. The prompt you see on your own account tells you more than any blanket claim.
Check generation, the chosen caption style and separate subtitle-file export one at a time. A badge or counter on one of them doesn't settle the other two. CapCut's beta usage-limit explanation describes variable trials, but it doesn't establish one current caption quota for everyone.
For the bigger subscription decision, compare CapCut's plan options and whether Pro is worth it for your work. Before you pay for a long project, test the caption workflow you need.
Style Captions for Readability, Not Decoration
Select one generated caption and adjust its font, size, color and position. If the footage shifts from light to dark, add an outline or background. Aim for one or two comfortable lines, and break them at a phrase instead of halfway through a name.
To repeat the formatting, look for Apply to all captions in the caption styling controls. CapCut's shared-style help warns that not every block updates consistently, so check the caption group you meant to change, especially after splitting blocks or mixing generated, imported and manually typed text. On Desktop, CapCut documents Ctrl-click on Windows or Cmd-click on Mac to select individual captions for shared styling. Make sure you're selecting caption blocks, not the video underneath. On Mobile and Web, use the caption list's selection controls when they're offered. For appearance, pick Style and skip any Edit action that replaces several lines with the same words. If a block ends up outside the group, format it on its own.
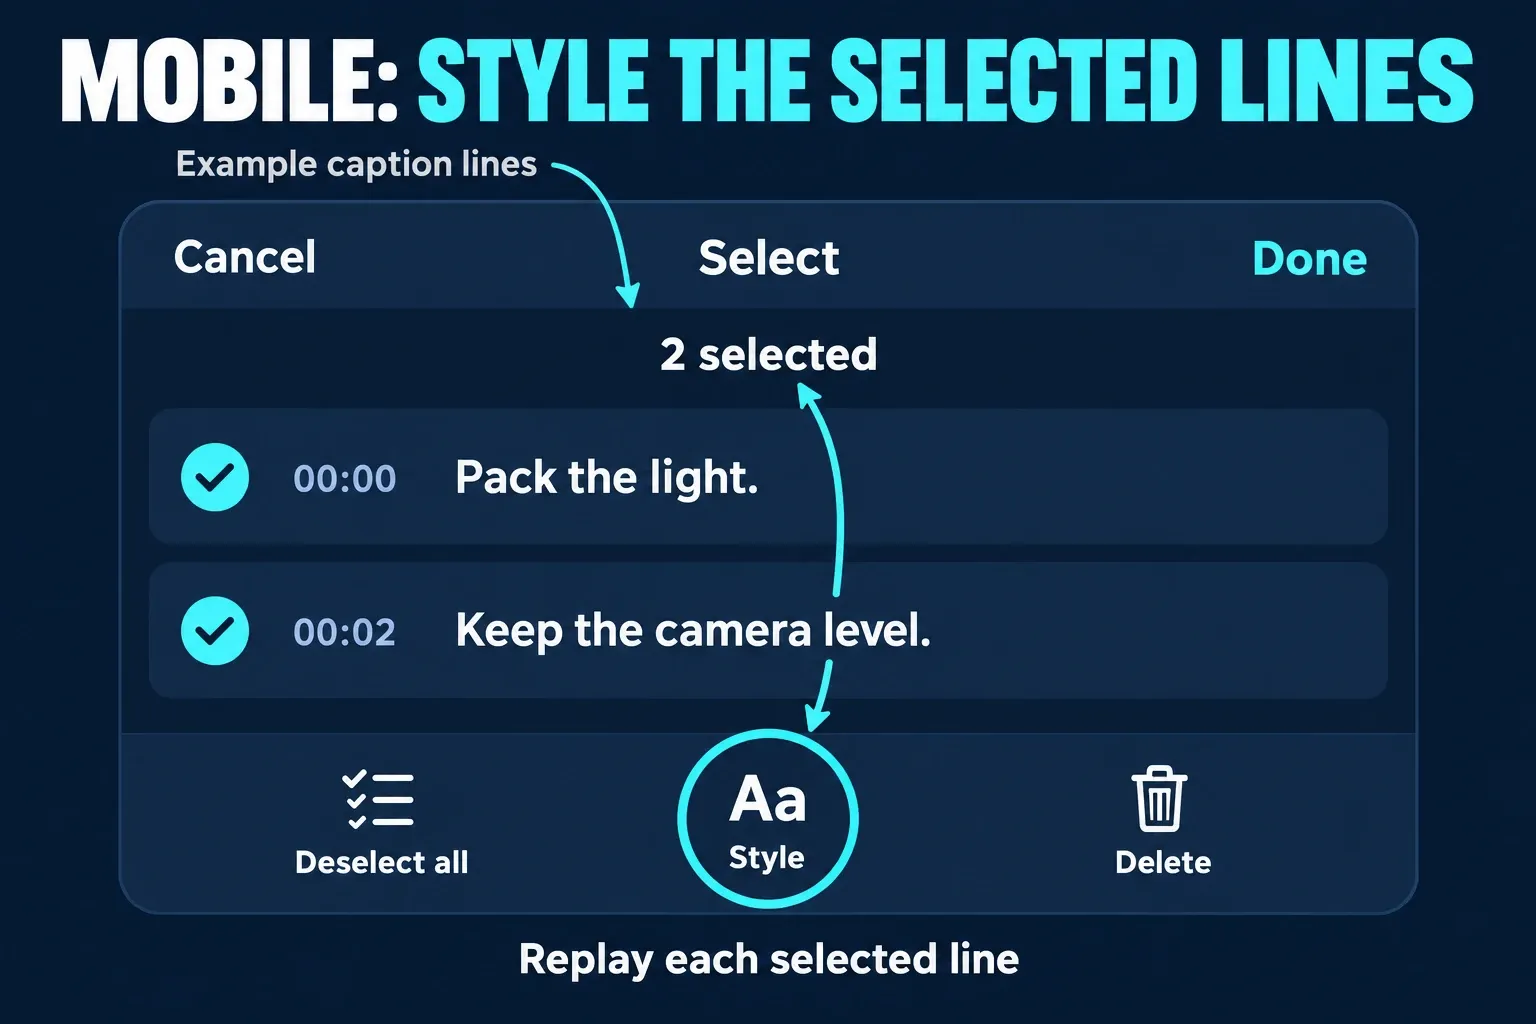
Apply to all is not the same as saving a preset
Apply to all controls which captions change in this project. A saved preset is meant for reusing a design, and applying one doesn't prove that every caption, line width or animation has updated. In a March 2026 iOS report, a user described a preset that changed only one selected caption and broke the line layout. That's a reported case, not proof that every current build has the same bug.
Don't delete a reviewed transcript to fix a font. Compare a short line, your longest line and a recently edited block after applying the style. Check bright and dark scenes too. A preset that looks good on one caption can wrap badly on another.
Before posting, preview at phone size and in the destination app. Keep text away from faces, product details and visible app controls. There's no single permanent safe rectangle for TikTok, Reels and Shorts.
For active-word highlighting or one-word pop-ups, use the word-by-word captions guide. An animation won't fix a wrong word or a late caption. Separate video effects are covered in the effects guide.
Import an Existing Subtitle File
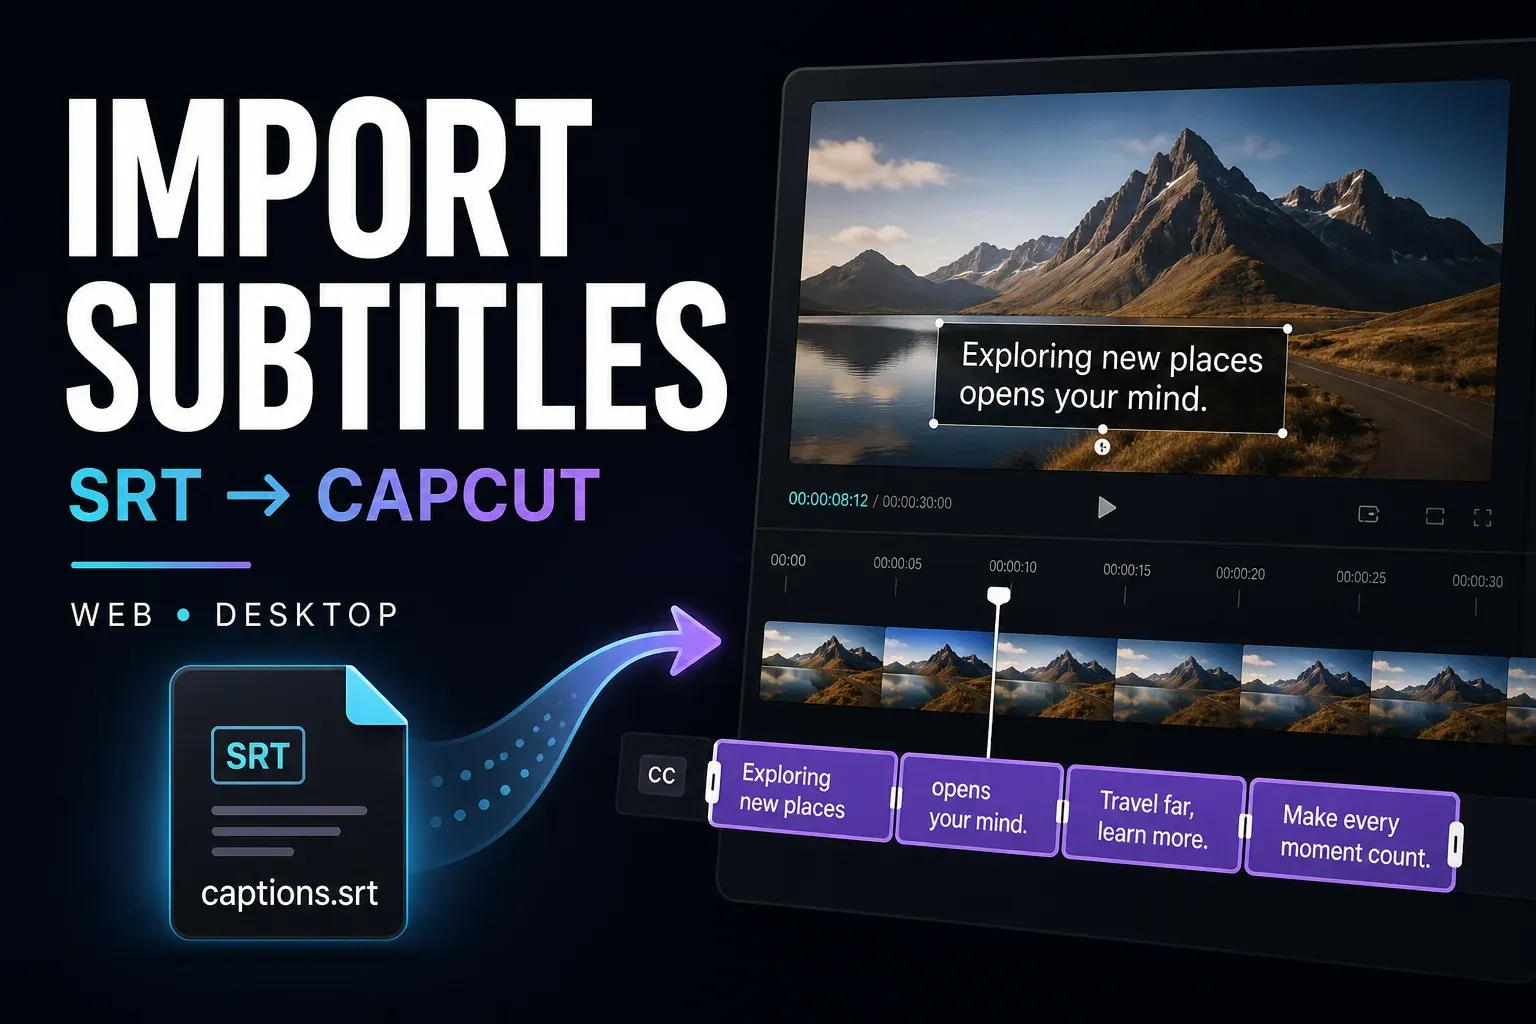
Already have a timed SRT? The SRT import guide covers Desktop's Import file and Web's Upload caption file routes. According to CapCut's current help, Mobile doesn't support direct SRT import, so use a documented Desktop/Web route or add the text by hand. Renaming an untimed TXT file won't create timecodes.
Translate Captions or Show Two Languages
Keep a corrected source transcript before you translate. Some bilingual controls recognize the audio again instead of translating your edited caption track, so a new Generate click can bring back words you already fixed. Compare both resulting languages with the saved source. The bilingual subtitles guide covers paired lines and how the controls differ by platform.
For translated text versus a translated voice, use the Video Translator guide. Turning written text into narration is a separate task, covered in the AI voice guide.
Download a Caption File or Burn Captions into Video
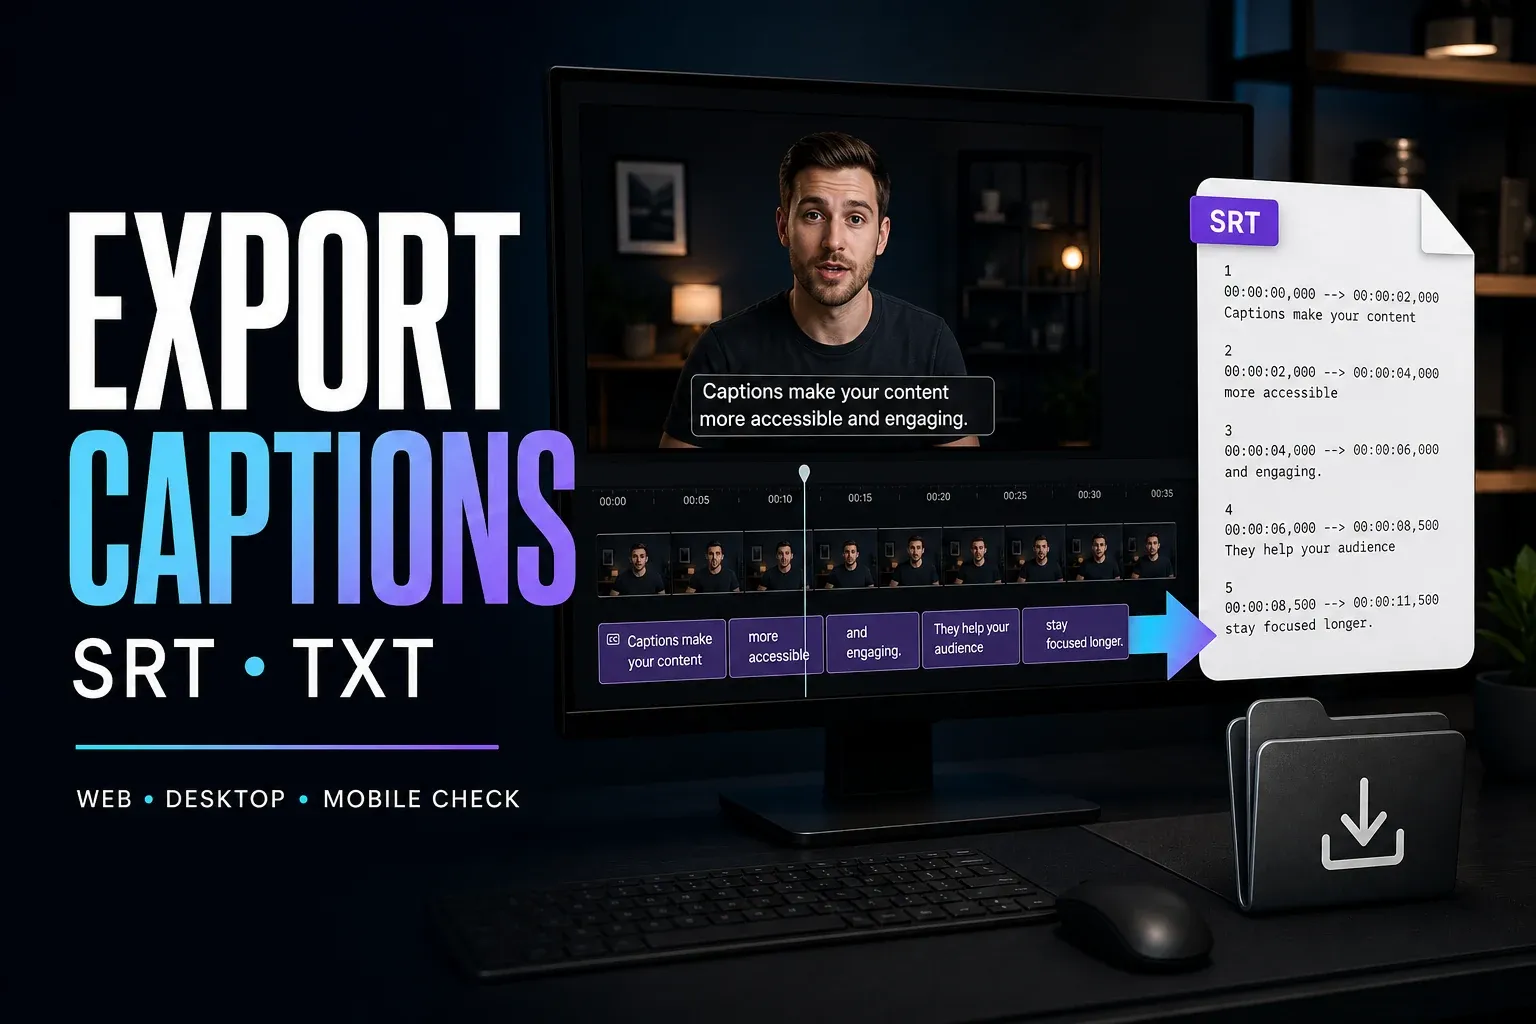
Burned-in captions become part of the exported video, so viewers can't switch them off. SRT carries text and timing for a separate subtitle track. A TXT file may be just a transcript, so open it and look before you count on it to carry timing. Neither a plain transcript nor a basic SRT keeps your CapCut word animations. If you finish on desktop, the DaVinci Resolve subtitle workflow handles SRT import, styling and export on that side.
Use the caption-file export guide to check which route is available, which track is eligible and what file you'll get. For video resolution, frame rate and bitrate, see export settings. Keep the editable project and source media along with the deliverables.
Captions for YouTube, Shorts, Reels and TikTok
Burned-in text makes sense when you want captions on screen without the viewer turning them on. A separate subtitle track leaves that choice to the viewer. YouTube's subtitle upload instructions distinguish timed files from untimed transcripts, and its supported-format guidance confirms that basic SRT doesn't keep styling.
Watch the finished video outside CapCut and confirm every correction made it through. If you also upload selectable captions, check the viewing result for duplicate text. When cross-posting, use the short-form publishing guides and check each destination's preview. I wouldn't rely on the editor alone. The AI tools hub connects captioning with other speech and text workflows.
CapCut Auto Captions FAQ
Where is Auto Captions in CapCut?
Open a project and look for Captions → Auto captions. Other documented layouts use Text. The help examples put Captions at the bottom on Mobile, at the top on Desktop and on the left in Web; follow the labels in your build.
Are CapCut auto captions free?
They may require Pro or show a limited allowance. Official pages do not give one consistent global answer. Check your account's generation prompt, chosen style and subtitle-file export separately; do not assume a fixed free quota or unlimited Pro use.
Do CapCut auto captions work offline?
Plan on an internet connection for new recognition: CapCut documents cloud processing and network-related failures. Editing captions already saved in a local project is a different operation and does not prove that offline generation will work.
How do I fix inaccurate CapCut auto captions?
Correct isolated wrong words directly. For a broadly wrong transcript, check the spoken language and recognition source, then retry in a separate project copy. Playback mute alone is not a reliable substitute for checking the selected source. Review the new text and timing before replacing good captions.
How do I change the style of all captions?
Select a generated caption, set the formatting and look for Apply to all captions. Check long, split and separately edited blocks. On Desktop, try Ctrl-click or Cmd-click to select the captions that need the same style; elsewhere, use the caption list’s selection controls when offered or format the remaining blocks individually. A saved preset is a separate operation and may not preserve the line layout.
Should I use burned-in captions or a subtitle file for YouTube?
Burned-in captions are always visible in the exported video. A separate timed subtitle file lets viewers turn captions on or off. Basic SRT does not preserve CapCut styling, and a plain TXT transcript may have no timing. Check for duplicate text if you publish both.